When we purchased our boat, the windlass was missing. The broker told us that it was off at Lewmar being repaired. When it came in he would send it to us.
That seemed fine as when we looked in the anchor locker, it appeared simple enough. Four mounting holes, a couple electrical connections and we would be off to pulling up the anchor with the windlass in no time at all.
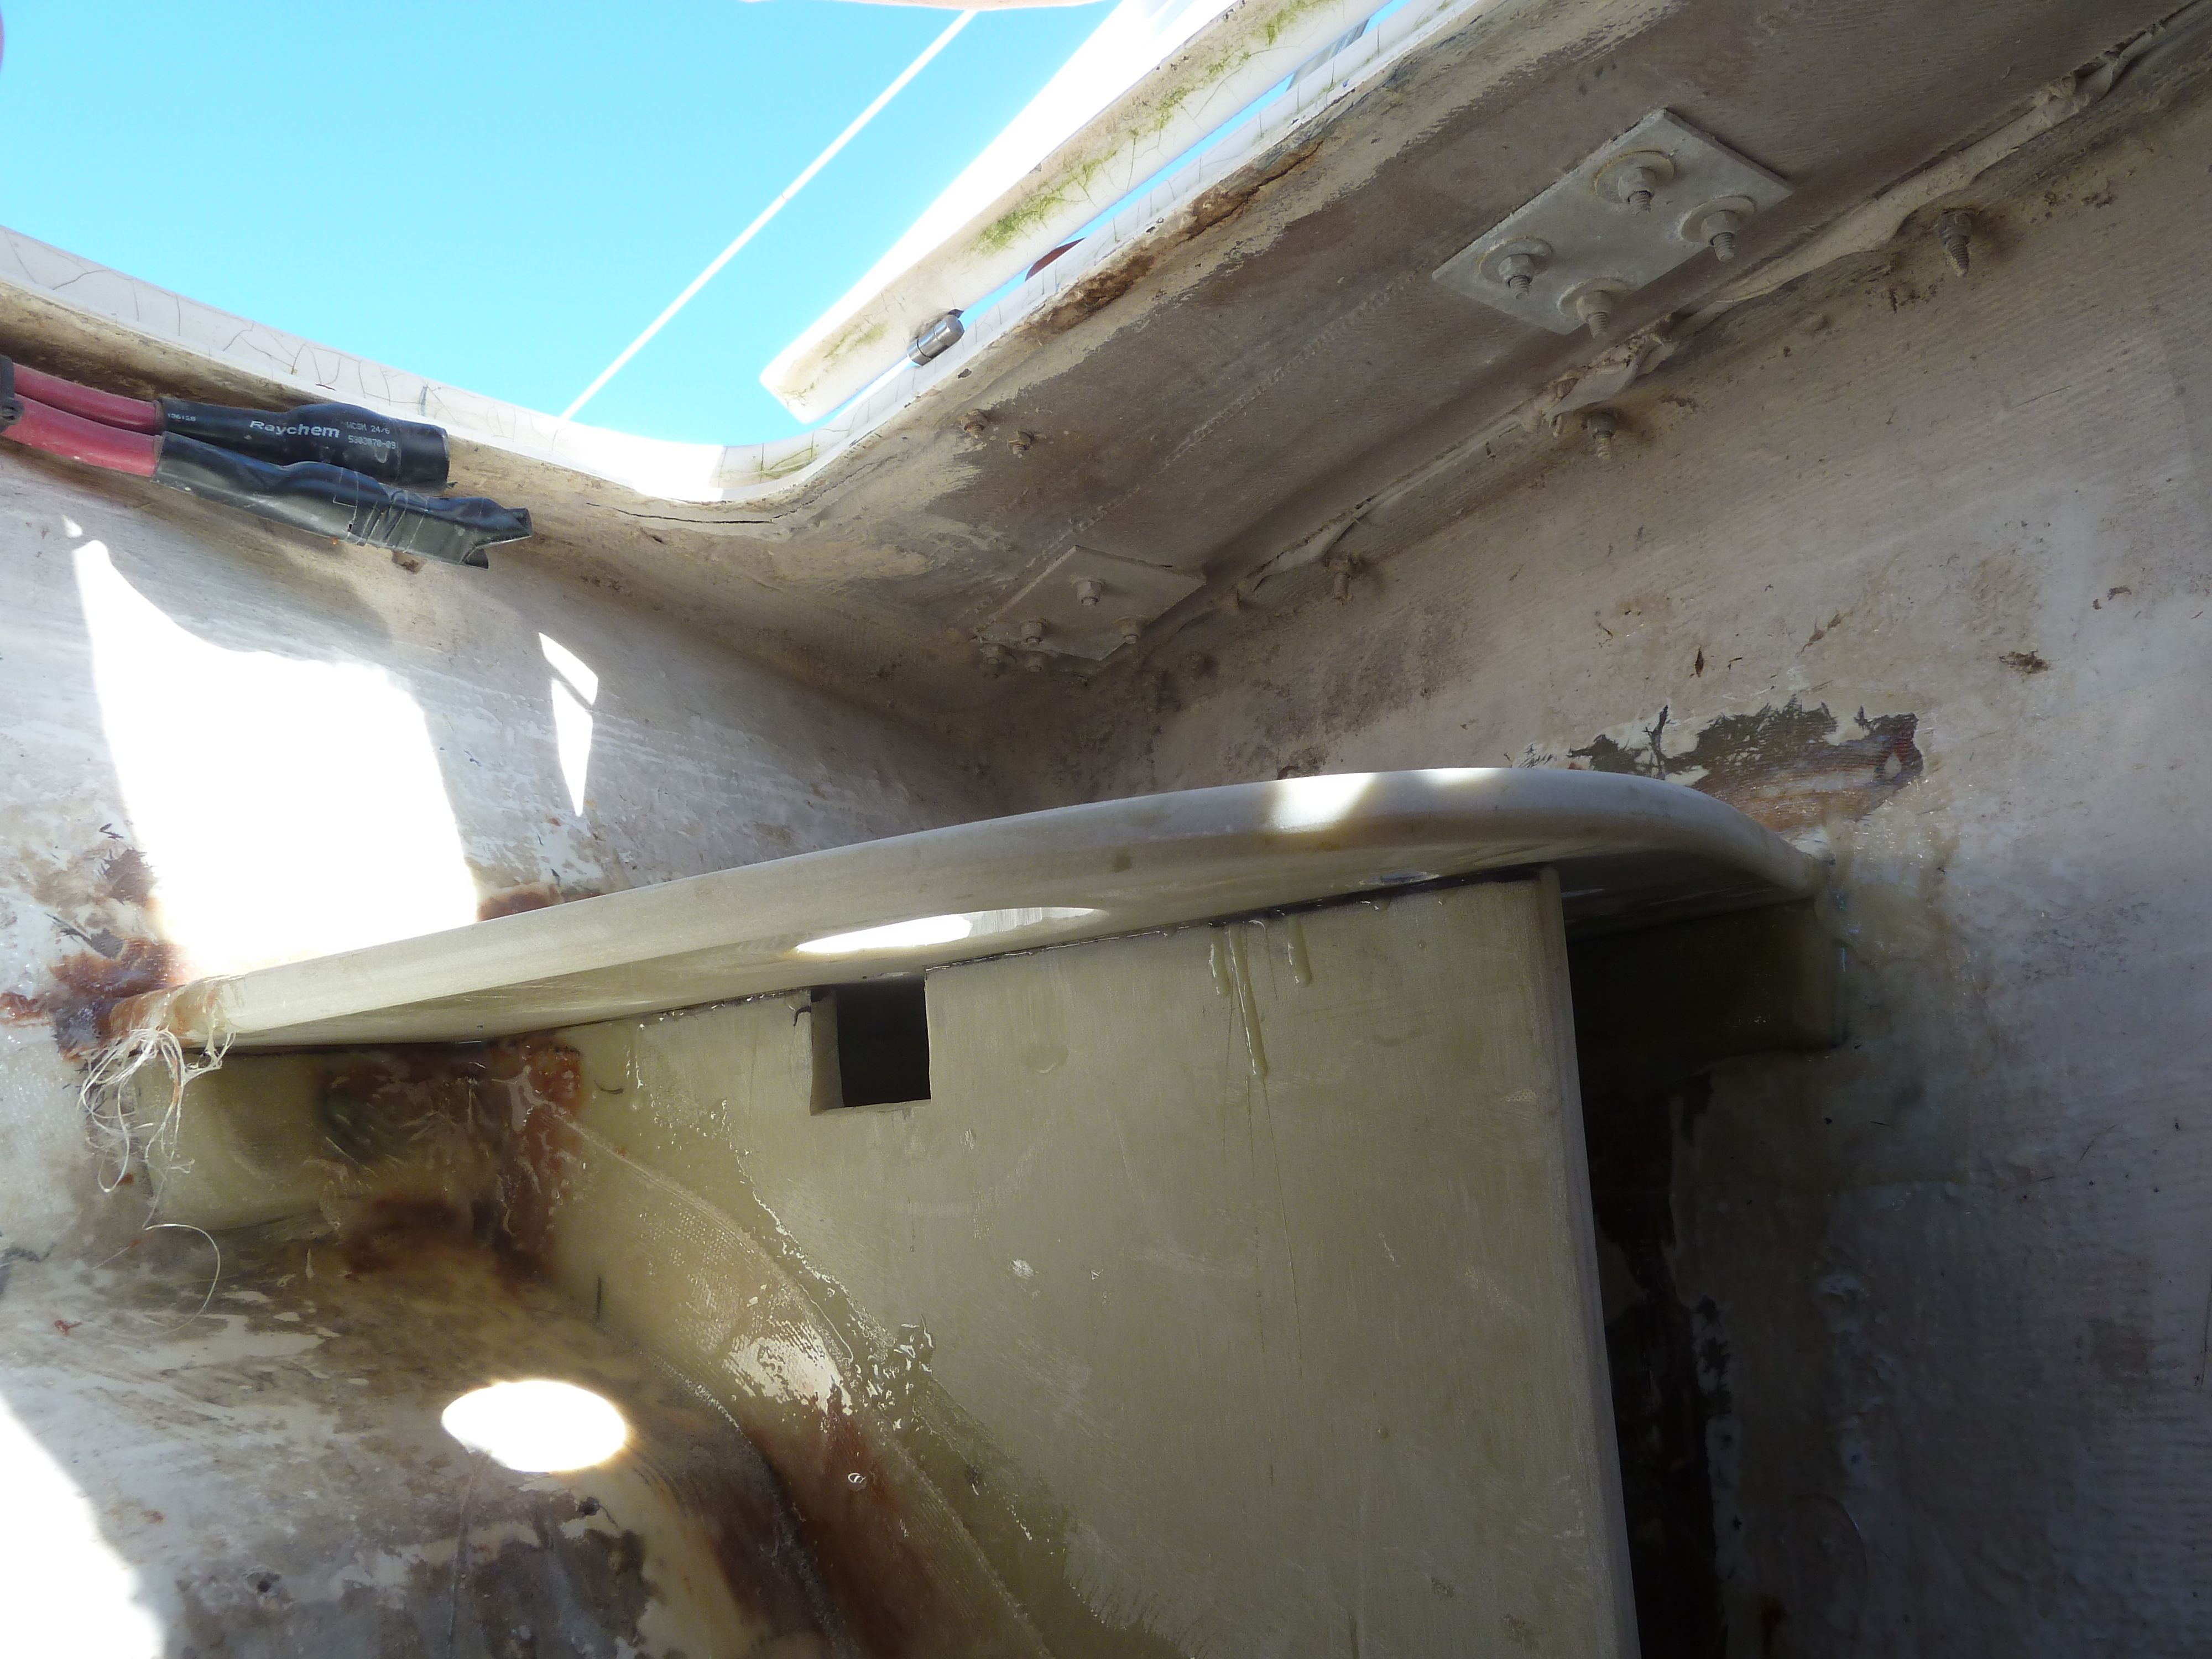
The windlass arrived in early April and I planned the install for Easter weekend. I took the necessary equipment and began to go to work on installing the windlass into the Sabre’s anchor locker. When I did the install, I quickly noticed the chain dragging to the starboard side of the stainless steel slide abrading the fiberglass gel coat.
This was a problem. So began the project of the summer.

We tried using the anchor a couple times. Once deployed it held fine. Dropping and retrieving the anchor was the problem. As you can see from the picture above, there is a stainless steel channel that the chain should move through. With the windlass in this position, it would quickly work itself out of the stainless guide path and over the gel coated deck. I could see this would quickly ruin the gel coat. When retrieving the anchor I put my foot on the chain to align it in the stainless valley. We only tried this once as it was cumbersome and there was an obvious safety issue. I decided the windlass had to come out.
May 2014
I removed the windlass and fiberglassed in the holes on the stand. In cleaning out the holes I noticed that the Mahogany plywood was not in the best shape. I filled in the holes with chopped glass fibers mixed with resin and over packed then top and bottom. Once the glass was set, I sanded the top and bottom level with the stand. I next sanded down a gel coat on the board. I added two layers of fiberglass on the top and re-gelcoated the board. I had some 3/8″ starboard on hand. I made a template of the underside of the stand and glued a backer of starboard to the underside of the stand for additional stiffening with 3M 4200.
June 2014
We realigned the windlass using a template from Lewmar. It was a hassle to get the PDF template scaled and sized appropriately. We marked and drilled new holes that aligned with the stainless steel chain chase. We coated all the wood with a thin gelcoat and let cure for a couple weeks.
July 2014
I reinstalled the windlass in preparation for use during an ASA 103 class I was teaching. At the dock, everything looked great!We took the boat out for the class and deployed the anchor. Chain going down worked perfectly. The anchor set and and we had a nice break from the class and with some lunch on a sunny day.
In preparation to cast off, we were successfully retrieving the chain and I heard a “SNAP”.

Quietly/internally sobbing we pulled up the remaining chain finished the ASA class.
The next weekend, I removed the windlass and began to ponder how to tackle the repair.
August 2014
The next time we got to the boat we took a new tool “Dewalt Ocillation Tool” with us.
We removed all the old structure in the anchor locker down to the fiberglass superstructure. We found the much of the wood under the fiberglass for the windlass stand had decomposed by absorbing seawater over the years that there was no real strength in the stand. That was the source of the failure.
September 2014
I took lots of measurements of the interior of the locker. I also contacted Sabre. They had a nice detailed plan and a replace set of boards for $75 or so. I was not satisfied so I looked into several options.
Aluminum:
Pros – strong, could get it worked on, and available
Cons – difficult to adhere to fiberglass without bolt type bonding, expensive to get formed, and susceptible to galvanic corrosion
Solid Fiberglass (G10-FR4):
Pros – can work with it like wood, bonds like crazy to fiberglass with epoxy glue
Cons – expensive, really dense, I might need “super tools” to cut it, I have no experience with it
I went with the G10. Although painfully slow to work with, I enlisted some friends to help. We measured 3x, we made templates, we installed the templates, we measured some more and we ordered the G10. I was able to get two 5/8″ sheets (2’x2′) for about $300 including a 3′ section of G10 rod in 3/8″ diameter.
I took off a couple long weekends and with the aid of good friends (Don Spangler and Jim Dinger) we were able to get the G10 roughed in. We used the rod to drill into the bulkhead and establish additional anchor points. Also, we used the rod to connect all the vertical and horizontal members.
October
Karen came down to the boat with me for two more weekends in October and we finished the project.

Overall I say I have about 150 hrs in labor over the year plus about $500 in materials. I believe I have a very high quality fix and I don’t know if a general repair from any of the local shops would have yielded a better product. Only time can tell. I will say that if I had hired out the fix for an equal result, it would have been a real budget busting experience.