Click Muse 10 to display the cruise so far in a new tab.
Lots of Preparation for a Summer Cruise
For the past two months, Karen and I have spent some time each day working on Muse 10, readying her piece for this journey.
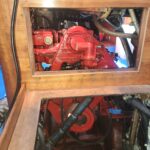
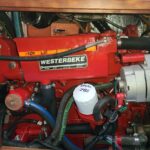
- It all began with engine work:
- Replace the motor mounts
- Improve the refrigeration compressor stability
- Paint the engine
- Acid wash the heat exchanger
- Epoxy the inspection port to the PSS
- Replace the belts and coolant hoses
- Change the oil and filter
- Change the fuel filters
- New thermostat gasket
- Replace the seawater pump impeller
- Inspect and replace any rusty hose clamps
- Replace any hoses that look to have wear
That’s the starting list and the work is complete.
Muse10 has a New Home
We have officially moved to Hilton Head Island in South Carolina.We are able to keep the boat about five miles from our condo.
It’s in a very protected marina. This is a great place to sail from as we can enter and exit ocean from at least three points plus we have the Intracoastal Waterway a few feet from the boat where we can hop on to Key West or the Chesapeake Bay.

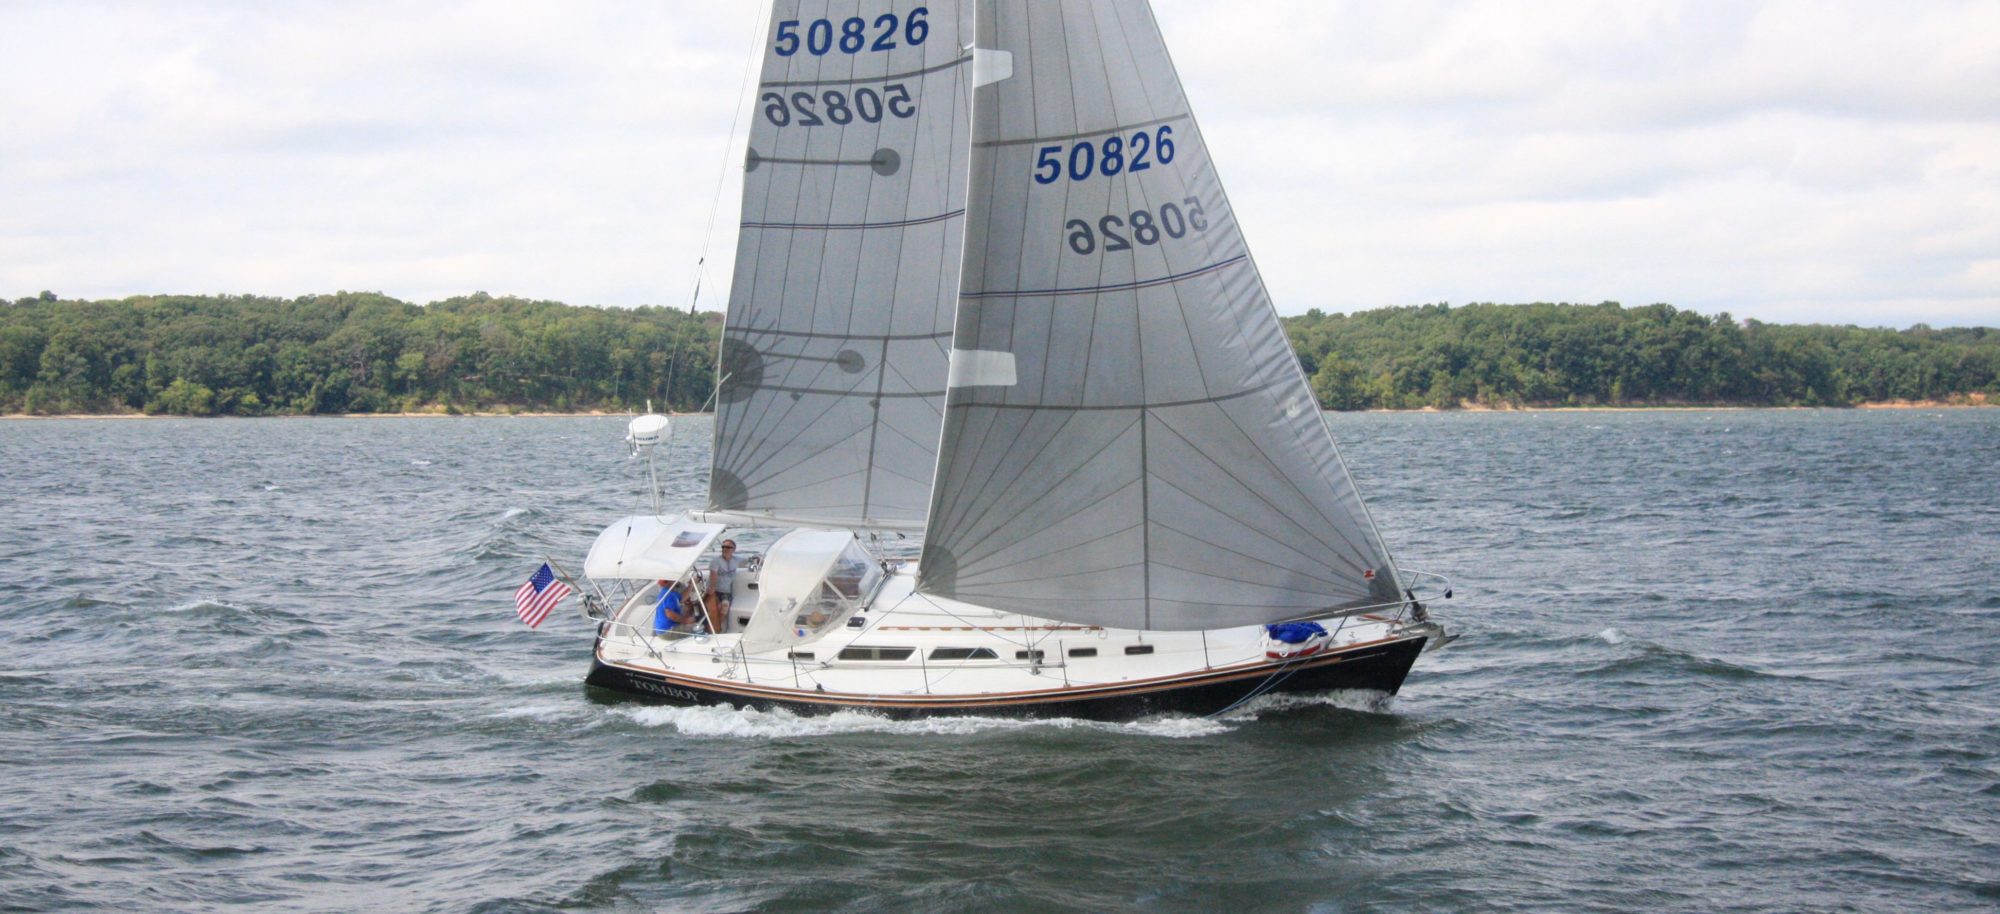
Muse 10 Racing down the Calibogue Sound
Updating the Chartplotter and Radar
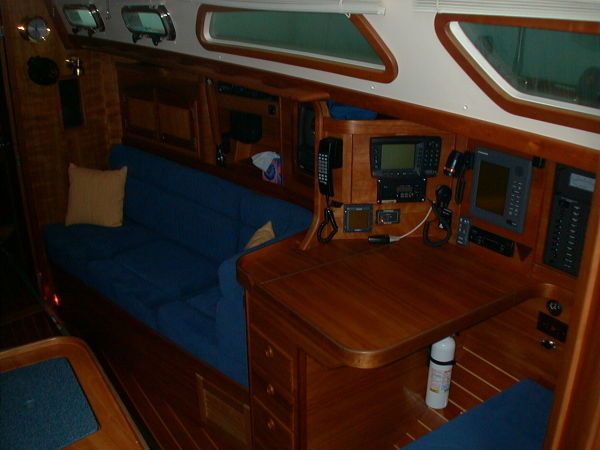
When we purchased the boat we knew the Radar (Furuno) and chart plotter (Raymarine A70) were tired.
Additionally, they were located in the nav station where they were of less benefit than at the helm.
This project is to add a chart plotter at the helm with radar overlay for use while at the helm.
So we’ve started down that road. The Furuno radar and the Raymarine chart plotter is gone. We’re prepared to install a B&G 4G radar and Zeus3 chart plotter. As with all mods we have a lot of prep before the installation begins.
- Core out holes through cockpit floor
- Build chart plotter mount for pedestal guard
- Run cables (power, ethernet, NMEA 2K)
- Mount radar unit
More as progress continues
A Long Hiatus
We are not the best bloggers.
A lot of water has run under our virtual keel since our last post. We have now officially retired from the 9-5 world, completed a circumnavigation, and come back to live on Muse 10.
We’ve spent the summer on our boat here at Green Turtle Bay and we are preparing Muse 10 to move south for the winter.
We installed a new CruiseAir 16K unit before we left the boat for two years. On our return, we did not understand was our AC electric load over during peak summer heat. Attempting to use the aircon, water heater, microwave, battery charger and outlets all at the same time draws more than our 30A/120V service can handle. We have a second service port for TV/Telephone which we have repurposed for the 2nd 30Amp service.
Around the World on SV Lexington
We planned for two years and completed a circumnavigation in 2018 on a Morris 46 named Lexington. Bob Woods the owner was kind enough to tolerate me for over 15 months. No small feat.
Below is the blog of the entire journey in MOBI ebook format.
Enjoy.
97% Spring Maintenance Complete – always learning
Karen and I spent the past Saturday “all day” completing the bulk of Spring Maintenance. From an engine perspective we are Summerized and ready to begin.
I still need to re-check the zincs – they seem unfazed by the fresh water. Friends are suggesting we move to Magnesium for fresh water. I’ll have to study up on that.
We need to put some coolant in the overflow. We used all we had to fill the engine based radiator system.
We need to wash out the bilge and put down new absorbent mats. Upon completing those tasks we’ll be 100%. It was interesting that the engine turned over immediately on the starter press.
Preparing for a Digital Transition
Before we put any experimental (Fortune Hill developed) hardware or software on Muse 10 we need to reset the baseline on the electronic infrastructure.
Over the 2014/2015 winter we developed a plan to refresh the network, add an AIS transceiver, add WI-FI to the boat, and add a NMEA 2000 backbone to bring the boat to the 21st century. This post will describe in brief this little journey.
I’ve diagrammed out the current state of affairs. One thing I’ve found on this boat is an abundance of wire that goes nowhere. I’m either marking it or pulling it out when possible.

More next week……
Spring Maintainence
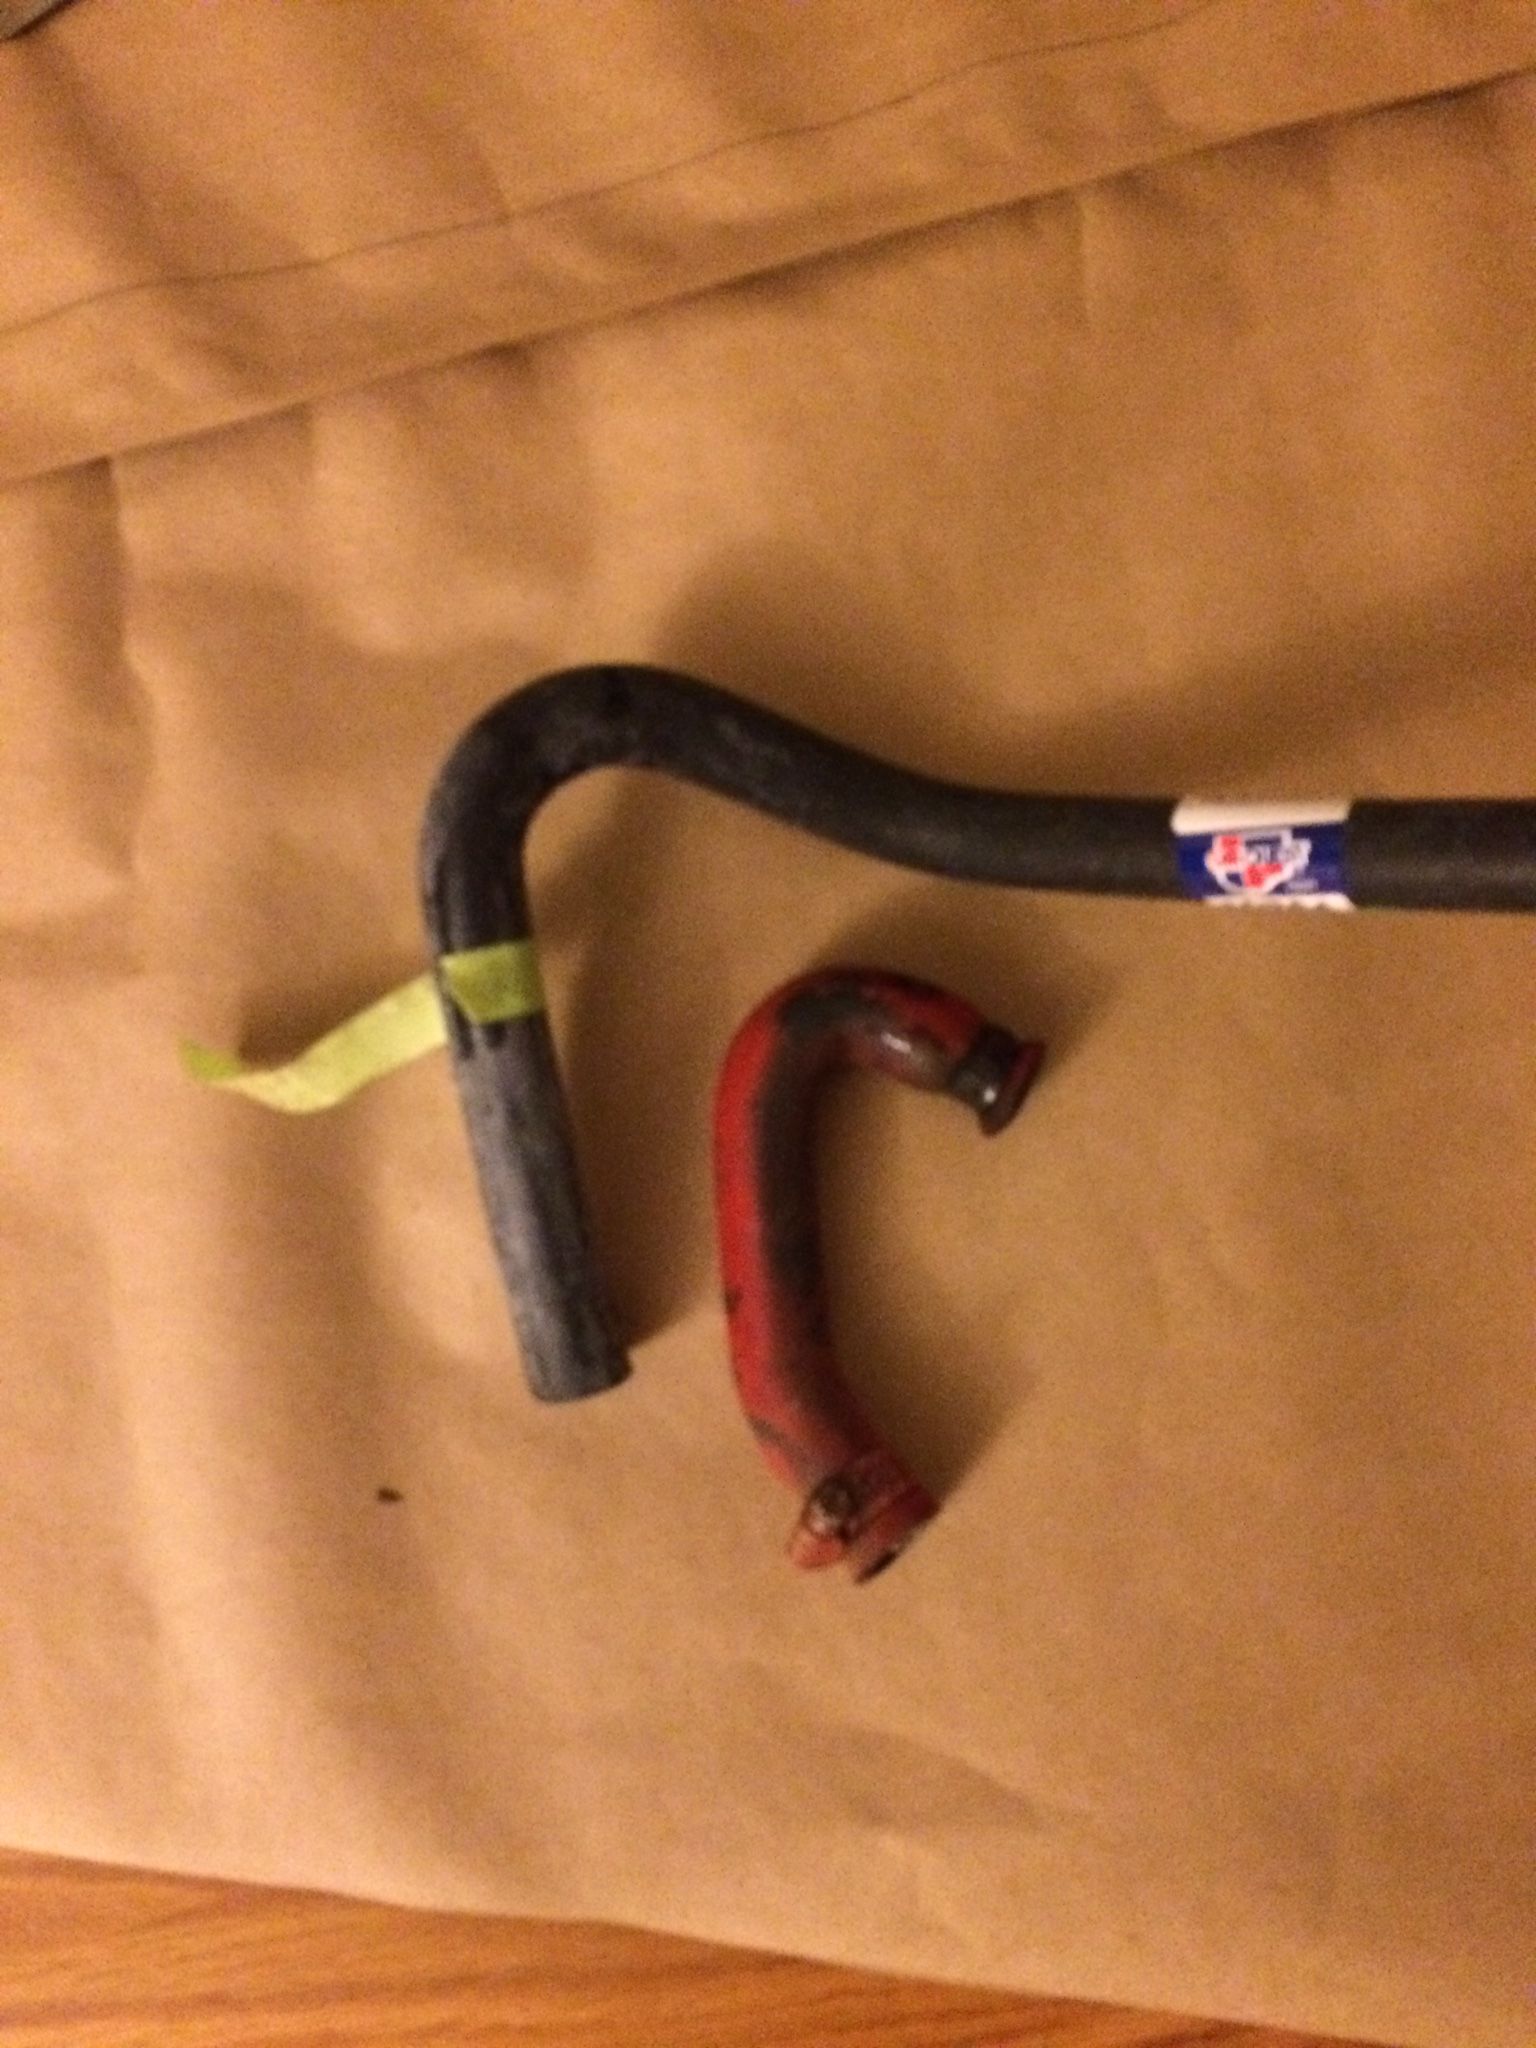
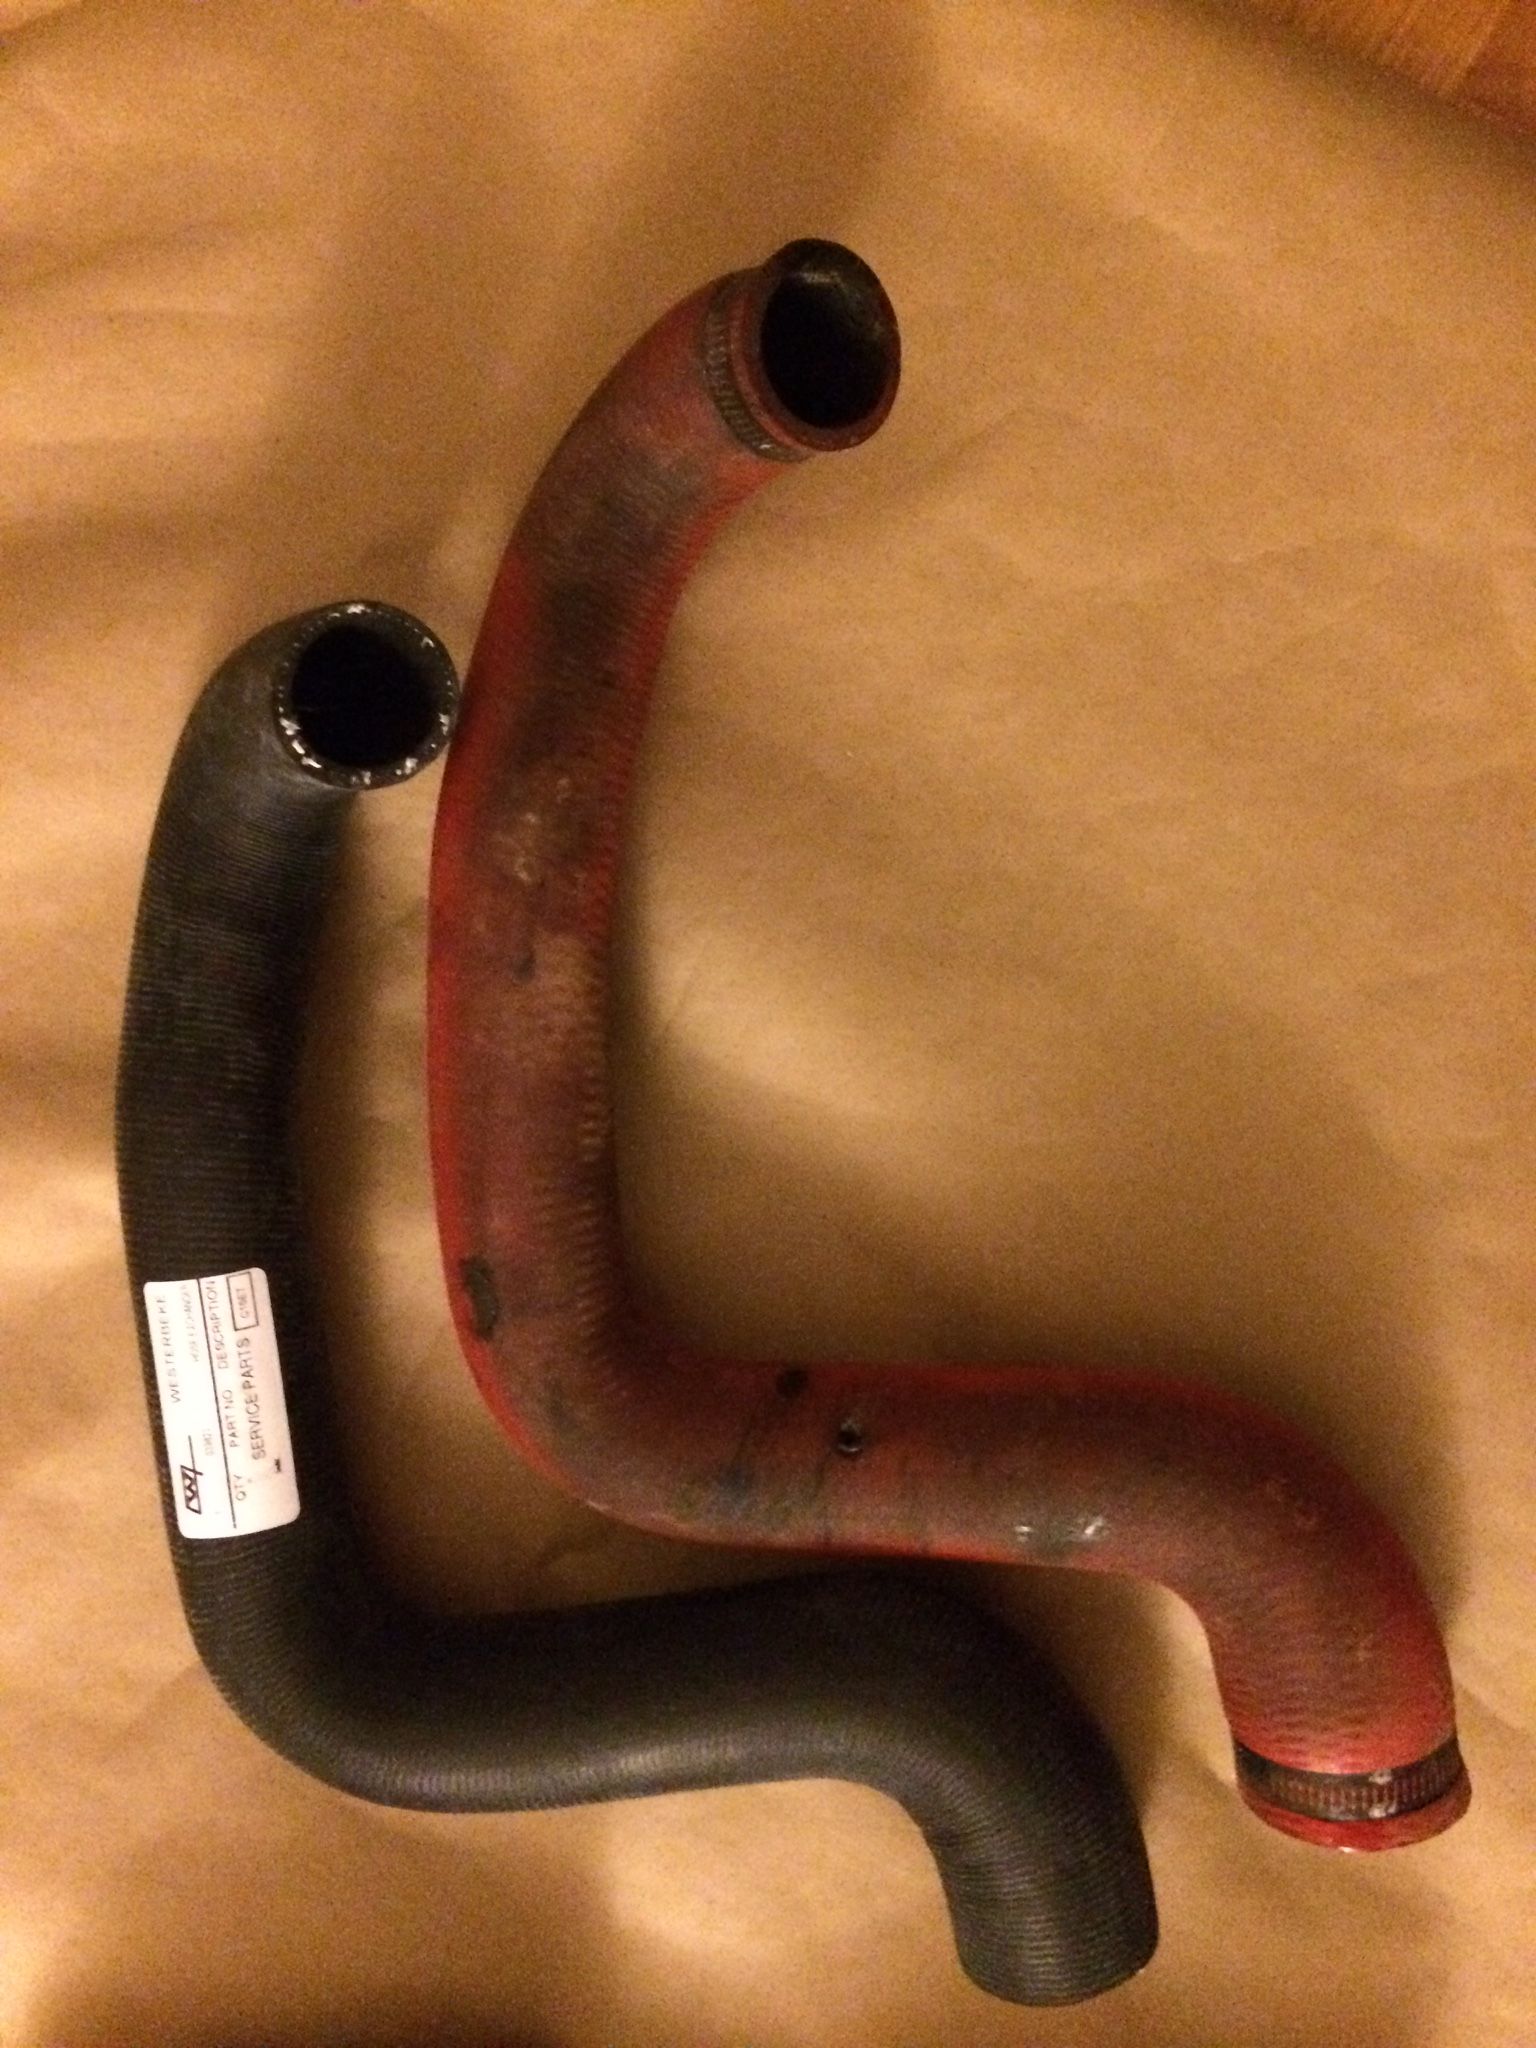
In preparation for Spring comissioning I started examining the coolant hoses for leaks.
The four main hoses appear to be original (1997). After a close examination of them, I decided they had lived a full life and decided to replace them.
I checked the parts in the Westerbeke parts catalog and the damage came to about $320 to replace all.
My colleagues on the Sabre forum suggested I take them to the local auto parts store and see if they might have some that would be cheaper than the Westerbeke hoses.
They were right. I was able to replace 3 out of 4 hoses with Carquest hoses saving me about $ 125. That’s enough to pay for the globe impeller, the barnacle buster, and some other key maintenance parts.
I did purchase the Westerbeke 039821 hose which has an internal reinforcing coil and was a little hard to source. Thank you Hanson Marine for stocking it even though it was pricey!
With a little luck, we’ll have Spring cleaning done soon and the boat for sea trials.
Change oil and filter (done
Change zincs (engine, freezer) (inspected)
Impeller (done)
Check / clean air filters
New coolant hoses (done)
Bleed and replace fuel filters (done)
Top off coolant (done)
Flush fresh water system with Barnacle Buster (done)
Install new anti-siphon hose (done)
X fingers and fire the baby up!


The summer of the windlass
When we purchased our boat, the windlass was missing. The broker told us that it was off at Lewmar being repaired. When it came in he would send it to us.
That seemed fine as when we looked in the anchor locker, it appeared simple enough. Four mounting holes, a couple electrical connections and we would be off to pulling up the anchor with the windlass in no time at all.
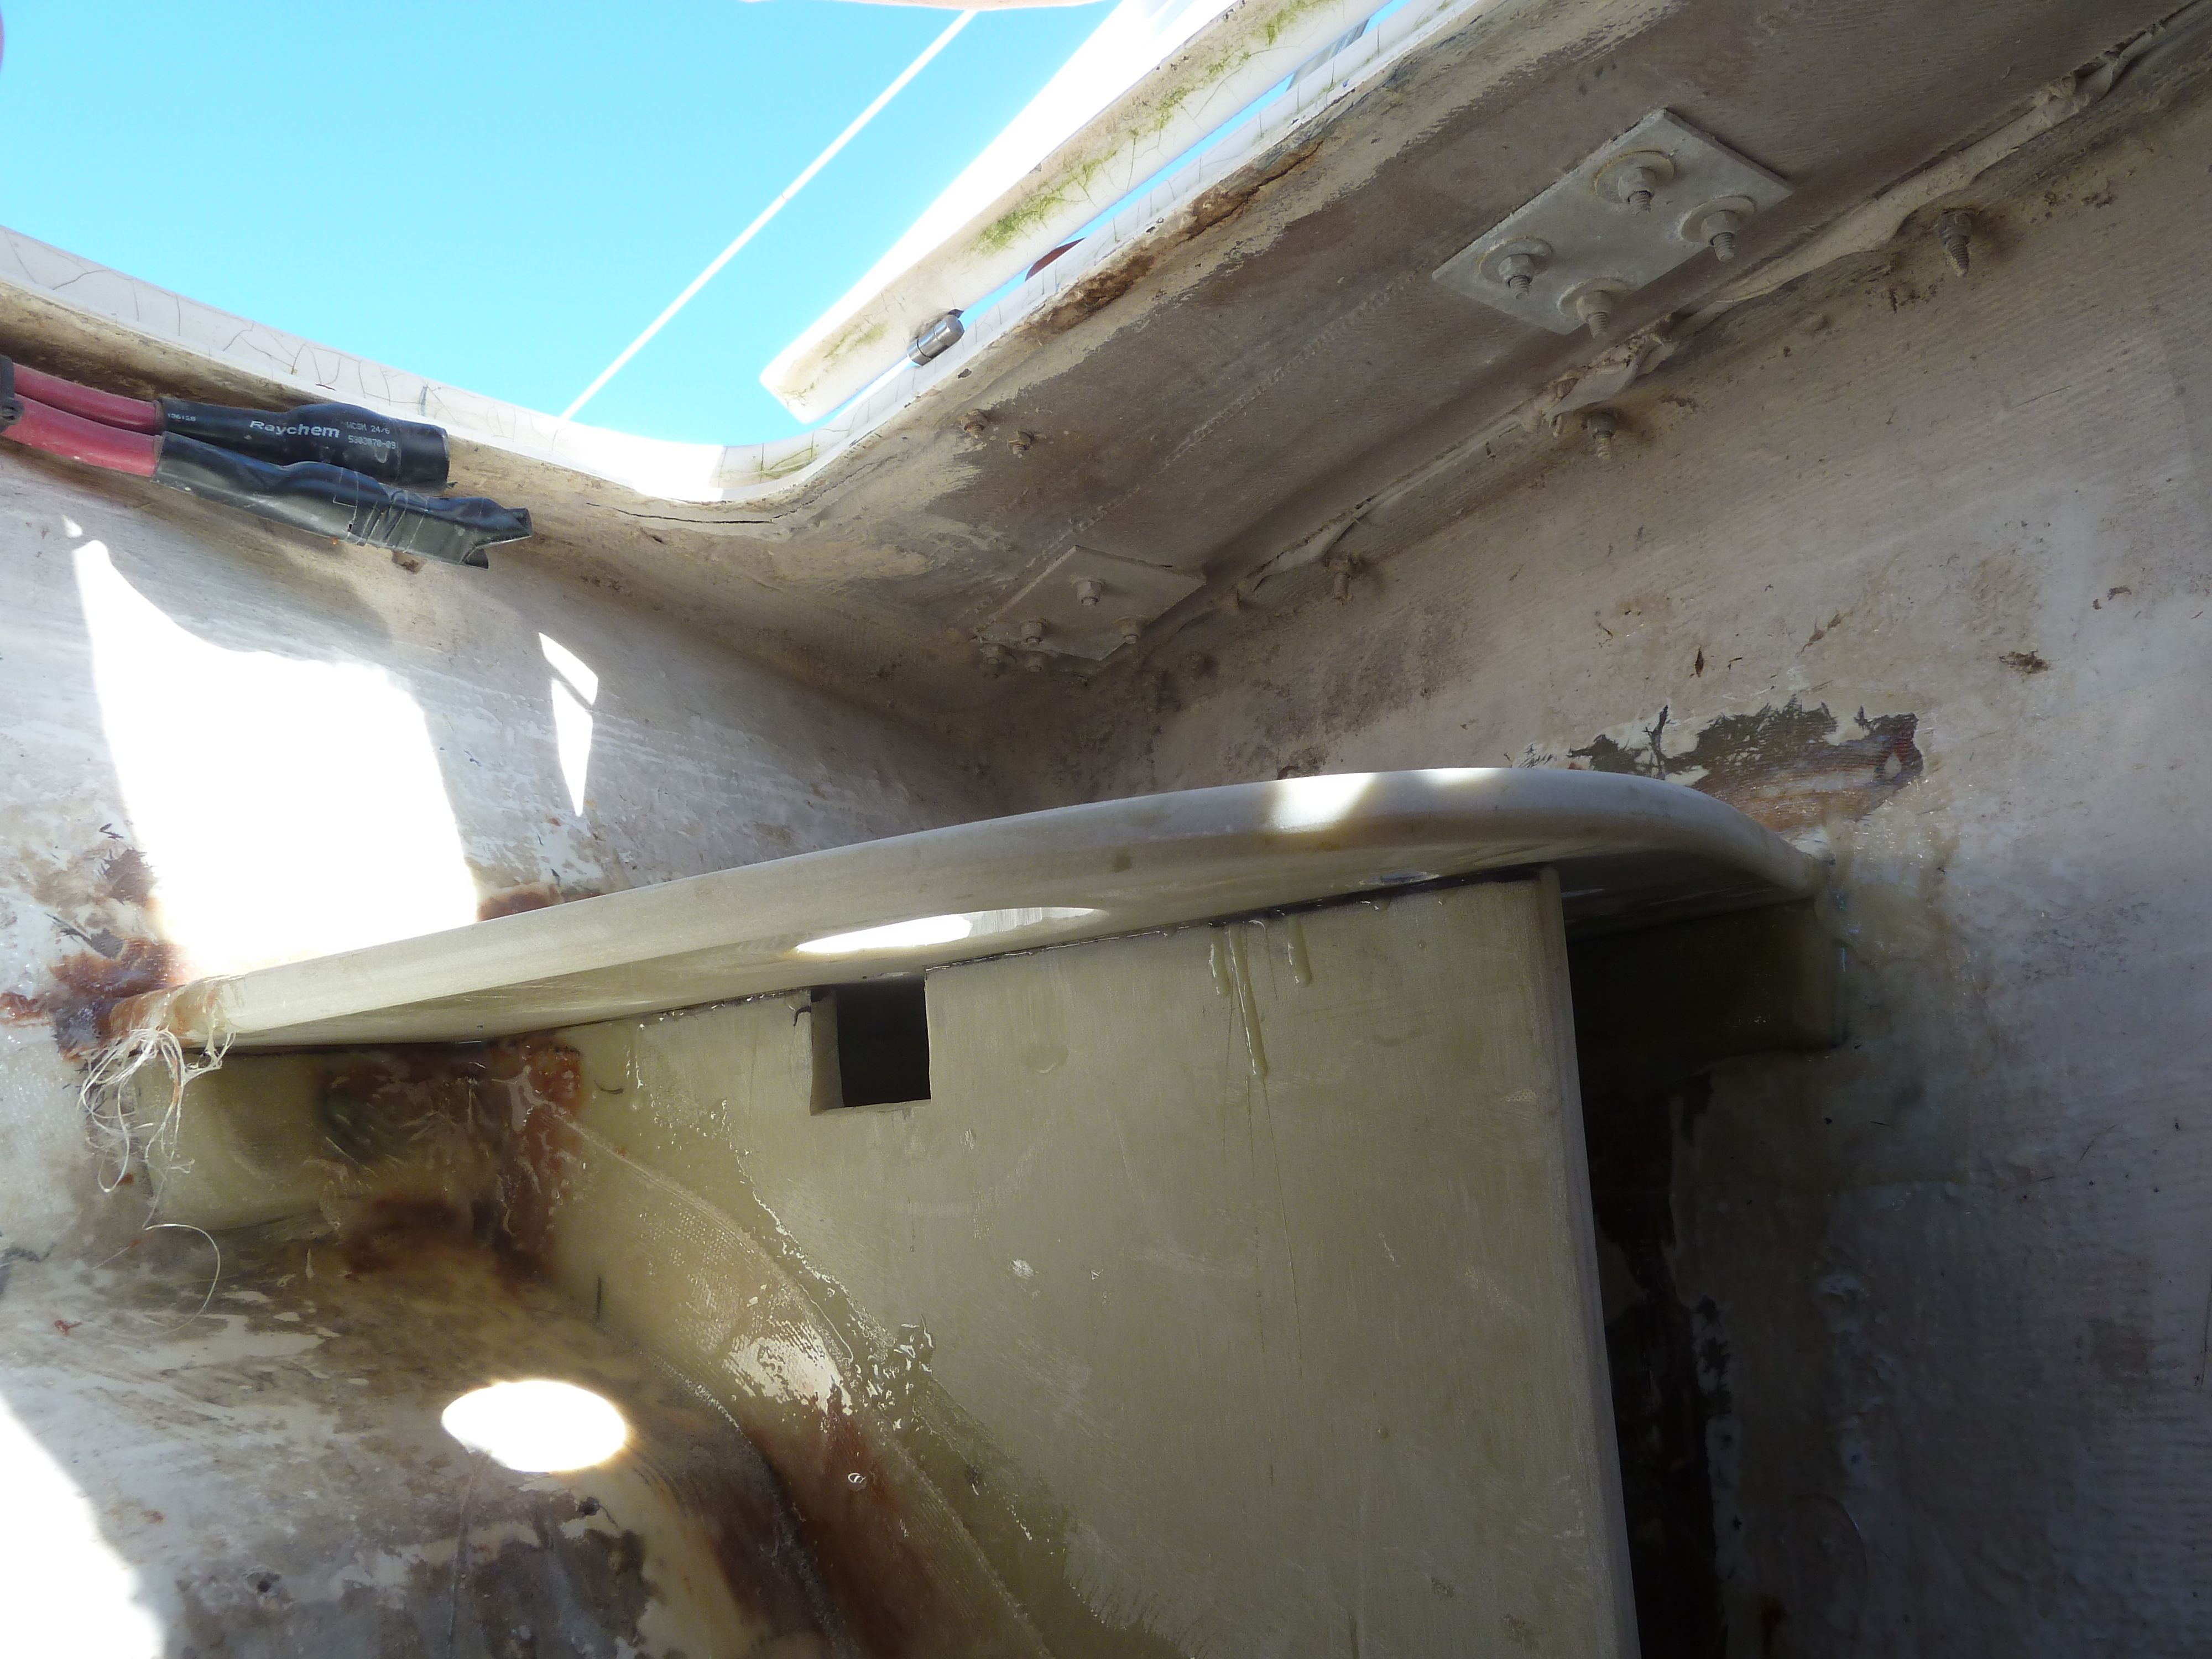
The windlass arrived in early April and I planned the install for Easter weekend. I took the necessary equipment and began to go to work on installing the windlass into the Sabre’s anchor locker. When I did the install, I quickly noticed the chain dragging to the starboard side of the stainless steel slide abrading the fiberglass gel coat.
This was a problem. So began the project of the summer.

We tried using the anchor a couple times. Once deployed it held fine. Dropping and retrieving the anchor was the problem. As you can see from the picture above, there is a stainless steel channel that the chain should move through. With the windlass in this position, it would quickly work itself out of the stainless guide path and over the gel coated deck. I could see this would quickly ruin the gel coat. When retrieving the anchor I put my foot on the chain to align it in the stainless valley. We only tried this once as it was cumbersome and there was an obvious safety issue. I decided the windlass had to come out.
May 2014
I removed the windlass and fiberglassed in the holes on the stand. In cleaning out the holes I noticed that the Mahogany plywood was not in the best shape. I filled in the holes with chopped glass fibers mixed with resin and over packed then top and bottom. Once the glass was set, I sanded the top and bottom level with the stand. I next sanded down a gel coat on the board. I added two layers of fiberglass on the top and re-gelcoated the board. I had some 3/8″ starboard on hand. I made a template of the underside of the stand and glued a backer of starboard to the underside of the stand for additional stiffening with 3M 4200.
June 2014
We realigned the windlass using a template from Lewmar. It was a hassle to get the PDF template scaled and sized appropriately. We marked and drilled new holes that aligned with the stainless steel chain chase. We coated all the wood with a thin gelcoat and let cure for a couple weeks.
July 2014
I reinstalled the windlass in preparation for use during an ASA 103 class I was teaching. At the dock, everything looked great!We took the boat out for the class and deployed the anchor. Chain going down worked perfectly. The anchor set and and we had a nice break from the class and with some lunch on a sunny day.
In preparation to cast off, we were successfully retrieving the chain and I heard a “SNAP”.

Quietly/internally sobbing we pulled up the remaining chain finished the ASA class.
The next weekend, I removed the windlass and began to ponder how to tackle the repair.
August 2014
The next time we got to the boat we took a new tool “Dewalt Ocillation Tool” with us.
We removed all the old structure in the anchor locker down to the fiberglass superstructure. We found the much of the wood under the fiberglass for the windlass stand had decomposed by absorbing seawater over the years that there was no real strength in the stand. That was the source of the failure.
September 2014
I took lots of measurements of the interior of the locker. I also contacted Sabre. They had a nice detailed plan and a replace set of boards for $75 or so. I was not satisfied so I looked into several options.
Aluminum:
Pros – strong, could get it worked on, and available
Cons – difficult to adhere to fiberglass without bolt type bonding, expensive to get formed, and susceptible to galvanic corrosion
Solid Fiberglass (G10-FR4):
Pros – can work with it like wood, bonds like crazy to fiberglass with epoxy glue
Cons – expensive, really dense, I might need “super tools” to cut it, I have no experience with it
I went with the G10. Although painfully slow to work with, I enlisted some friends to help. We measured 3x, we made templates, we installed the templates, we measured some more and we ordered the G10. I was able to get two 5/8″ sheets (2’x2′) for about $300 including a 3′ section of G10 rod in 3/8″ diameter.
I took off a couple long weekends and with the aid of good friends (Don Spangler and Jim Dinger) we were able to get the G10 roughed in. We used the rod to drill into the bulkhead and establish additional anchor points. Also, we used the rod to connect all the vertical and horizontal members.
October
Karen came down to the boat with me for two more weekends in October and we finished the project.

Overall I say I have about 150 hrs in labor over the year plus about $500 in materials. I believe I have a very high quality fix and I don’t know if a general repair from any of the local shops would have yielded a better product. Only time can tell. I will say that if I had hired out the fix for an equal result, it would have been a real budget busting experience.